Closed Testing
Google Play 14-Day Testing Rule: Start Date and Timeline
Learn when Google Play's 14-day testing window starts, what happens when a tester leaves, and how to plan a continuous closed-testing timeline.
On this page · 10 sections
- 01When the 14-day clock actually starts
- 02Day-by-day plan for the closed testing window
- 03Daily opt-in tracking during the window
- 04What if a tester leaves mid-window?
- 05What to do if you update the build mid-window
- 06Tester activity guidance for a stronger window
- 07Preparing for production access in the final days
- 08Timeline mistakes that add weeks to your launch
- 09Frequently asked questions
- 10Official sources
At a glance
In plain English
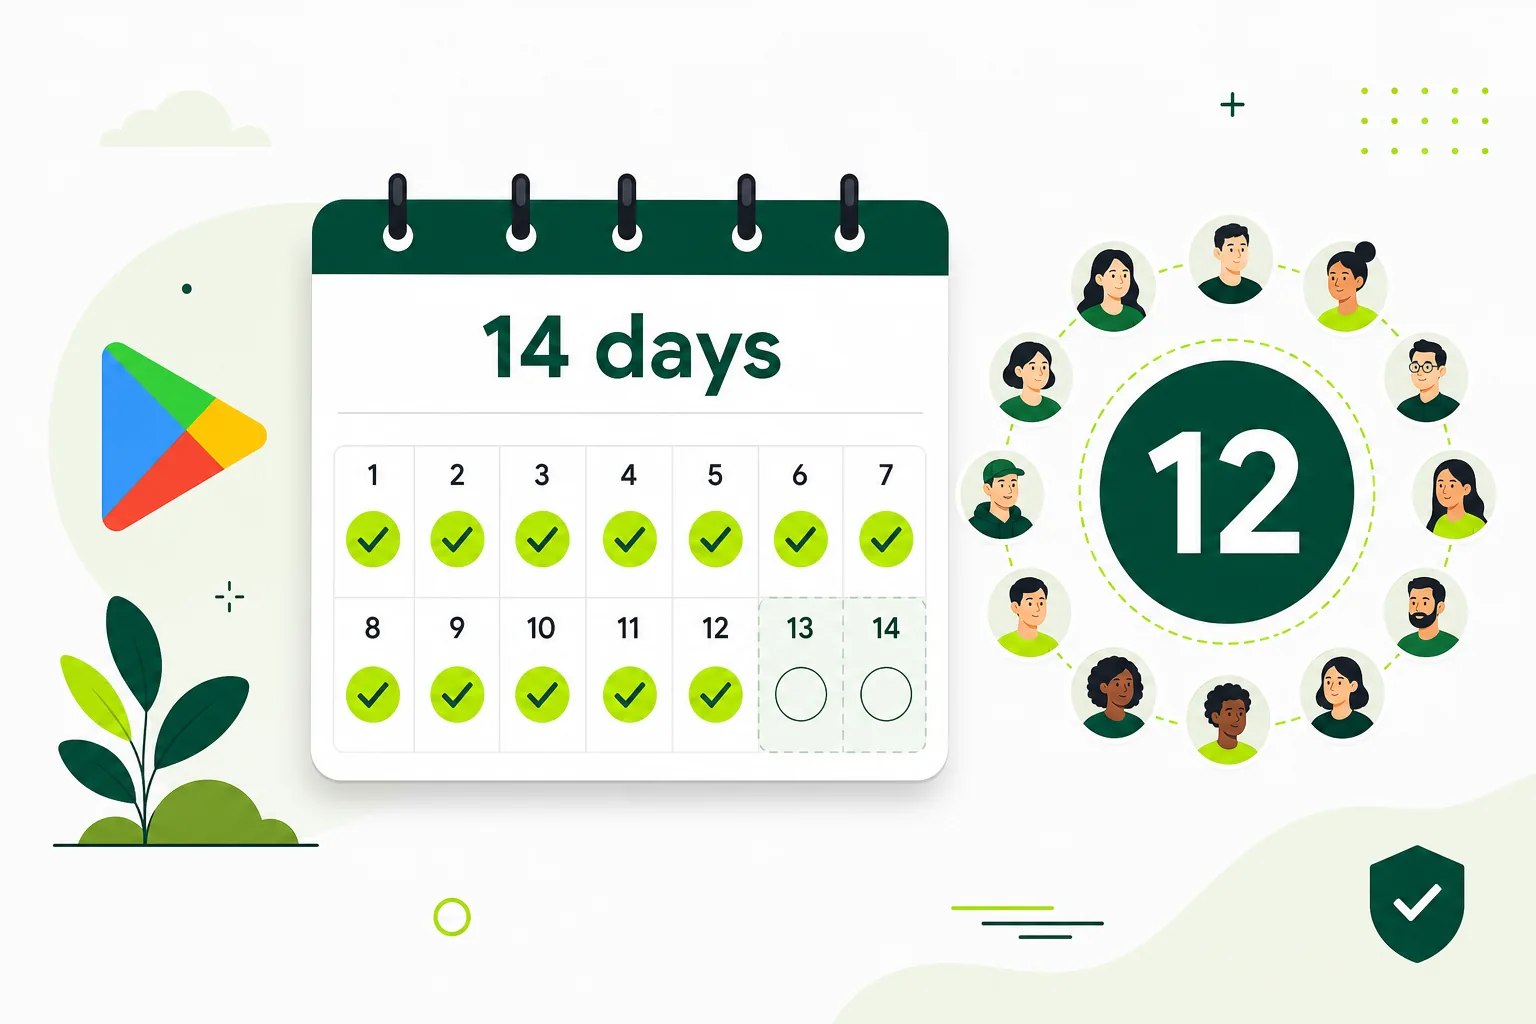
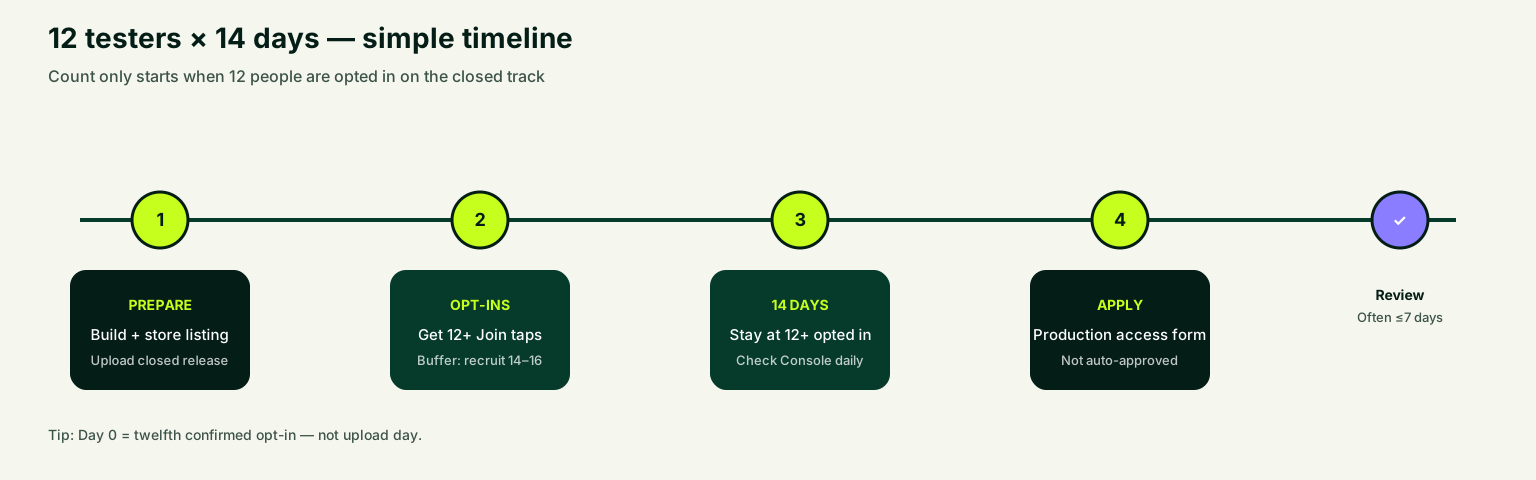
- The 14-day clock starts when your closed release is available and at least 12 testers are opted in — not when you upload.
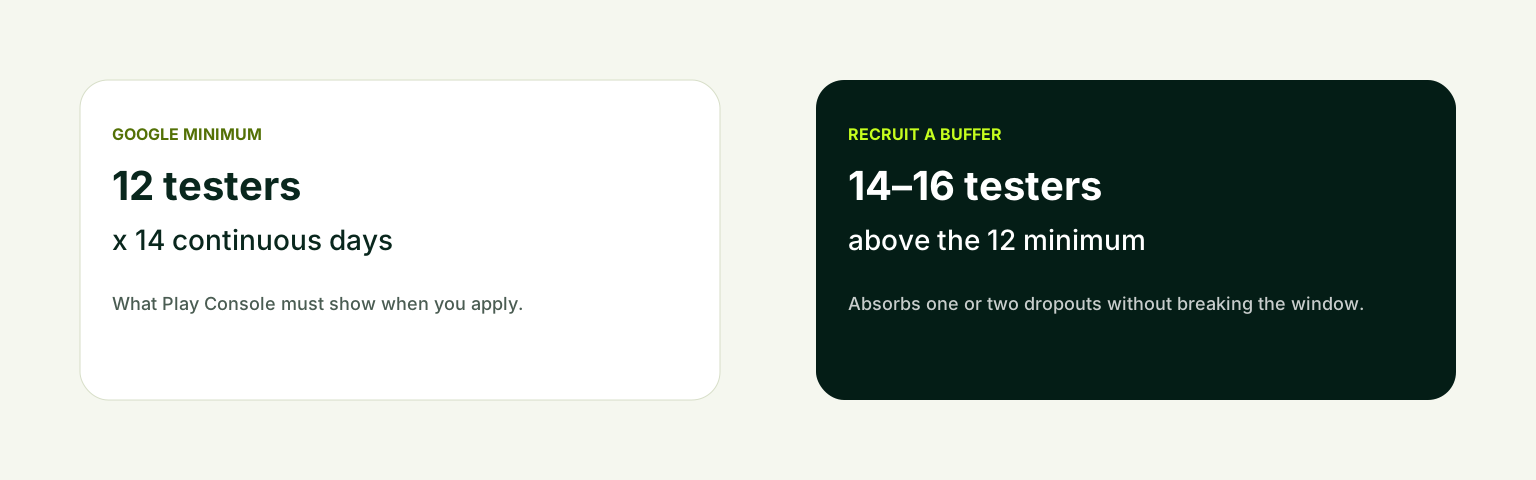
- If you drop below 12 opted-in testers, the continuous window can break. Recruit a buffer (14–16) from day one.
- Check Play Console every day; chat confirmations are not the source of truth.
In plain English: Google wants at least 12 people to stay joined on your closed test for 14 days in a row before many new personal accounts can apply for production. Those days must be continuous.
The biggest timeline mistake is starting the count on upload day. Upload alone does not start the window. Day 0 is when the closed release is available and you have confirmed at least 12 opted-in testers in Play Console.
Use this guide for a day-by-day plan, dropout recovery, and the mistakes that add weeks to launch.
When the 14-day clock actually starts
The most common timeline mistake is starting the count when you upload the build. Upload alone does not start the window. Google describes the requirement as testers being opted in for at least the last fourteen days continuously — which implies the closed test release must be approved, available to testers, and enough testers must have completed opt-in.
Day zero is the day your release is live on the closed track and you have confirmed at least twelve opted-in testers in Play Console. If you start counting before the release is approved, you may apply too early and face rejection or requests for more testing.
Use a conservative approach: note the date when tester number twelve completes opt-in, add fourteen full days, then add one or two buffer days before applying. The closed testing checklist tool helps verify readiness before you mark day zero.
Day-by-day plan for the closed testing window
A structured fourteen-day plan turns closed testing from a passive wait into an active launch project. Each phase has a clear goal: confirm participation early, exercise core flows mid-window, and prepare production-access answers in the final days.
Days one and two are about opt-in completion and install verification. Days three through ten push testers through assigned scenarios and collect feedback. Days eleven through fourteen focus on regression testing after fixes, summarizing what changed, and drafting production-access answers.
- Day 0: Release approved and available; twelve or more testers confirmed opted in; testing brief sent.
- Days 1–2: Verify remaining opt-ins, fix install and country-targeting issues, confirm device compatibility.
- Days 3–10: Run core flow scenarios, collect crash reports and usability notes, ship fixes if needed.
- Days 11–14: Retest fixed issues, confirm twelve-plus opt-ins still active, prepare production-access submission.
Daily opt-in tracking during the window
Open Play Console every day during the fourteen-day window and record your opted-in tester count. A dropout on day eight that goes unnoticed until day fourteen can force a restart. Five minutes of daily checking prevents weeks of delay.
Maintain a simple tracker: tester name, email, opt-in date, device model, Android version, assigned scenarios completed, feedback received, and current status. Share weekly progress with your team so fixes and retests happen while the window is still open.
If your count drops below twelve, recruit replacements immediately and verify their opt-ins before assuming the continuous window holds. The Google Play closed testing service can help maintain tester count if retention is your bottleneck.
What if a tester leaves mid-window?
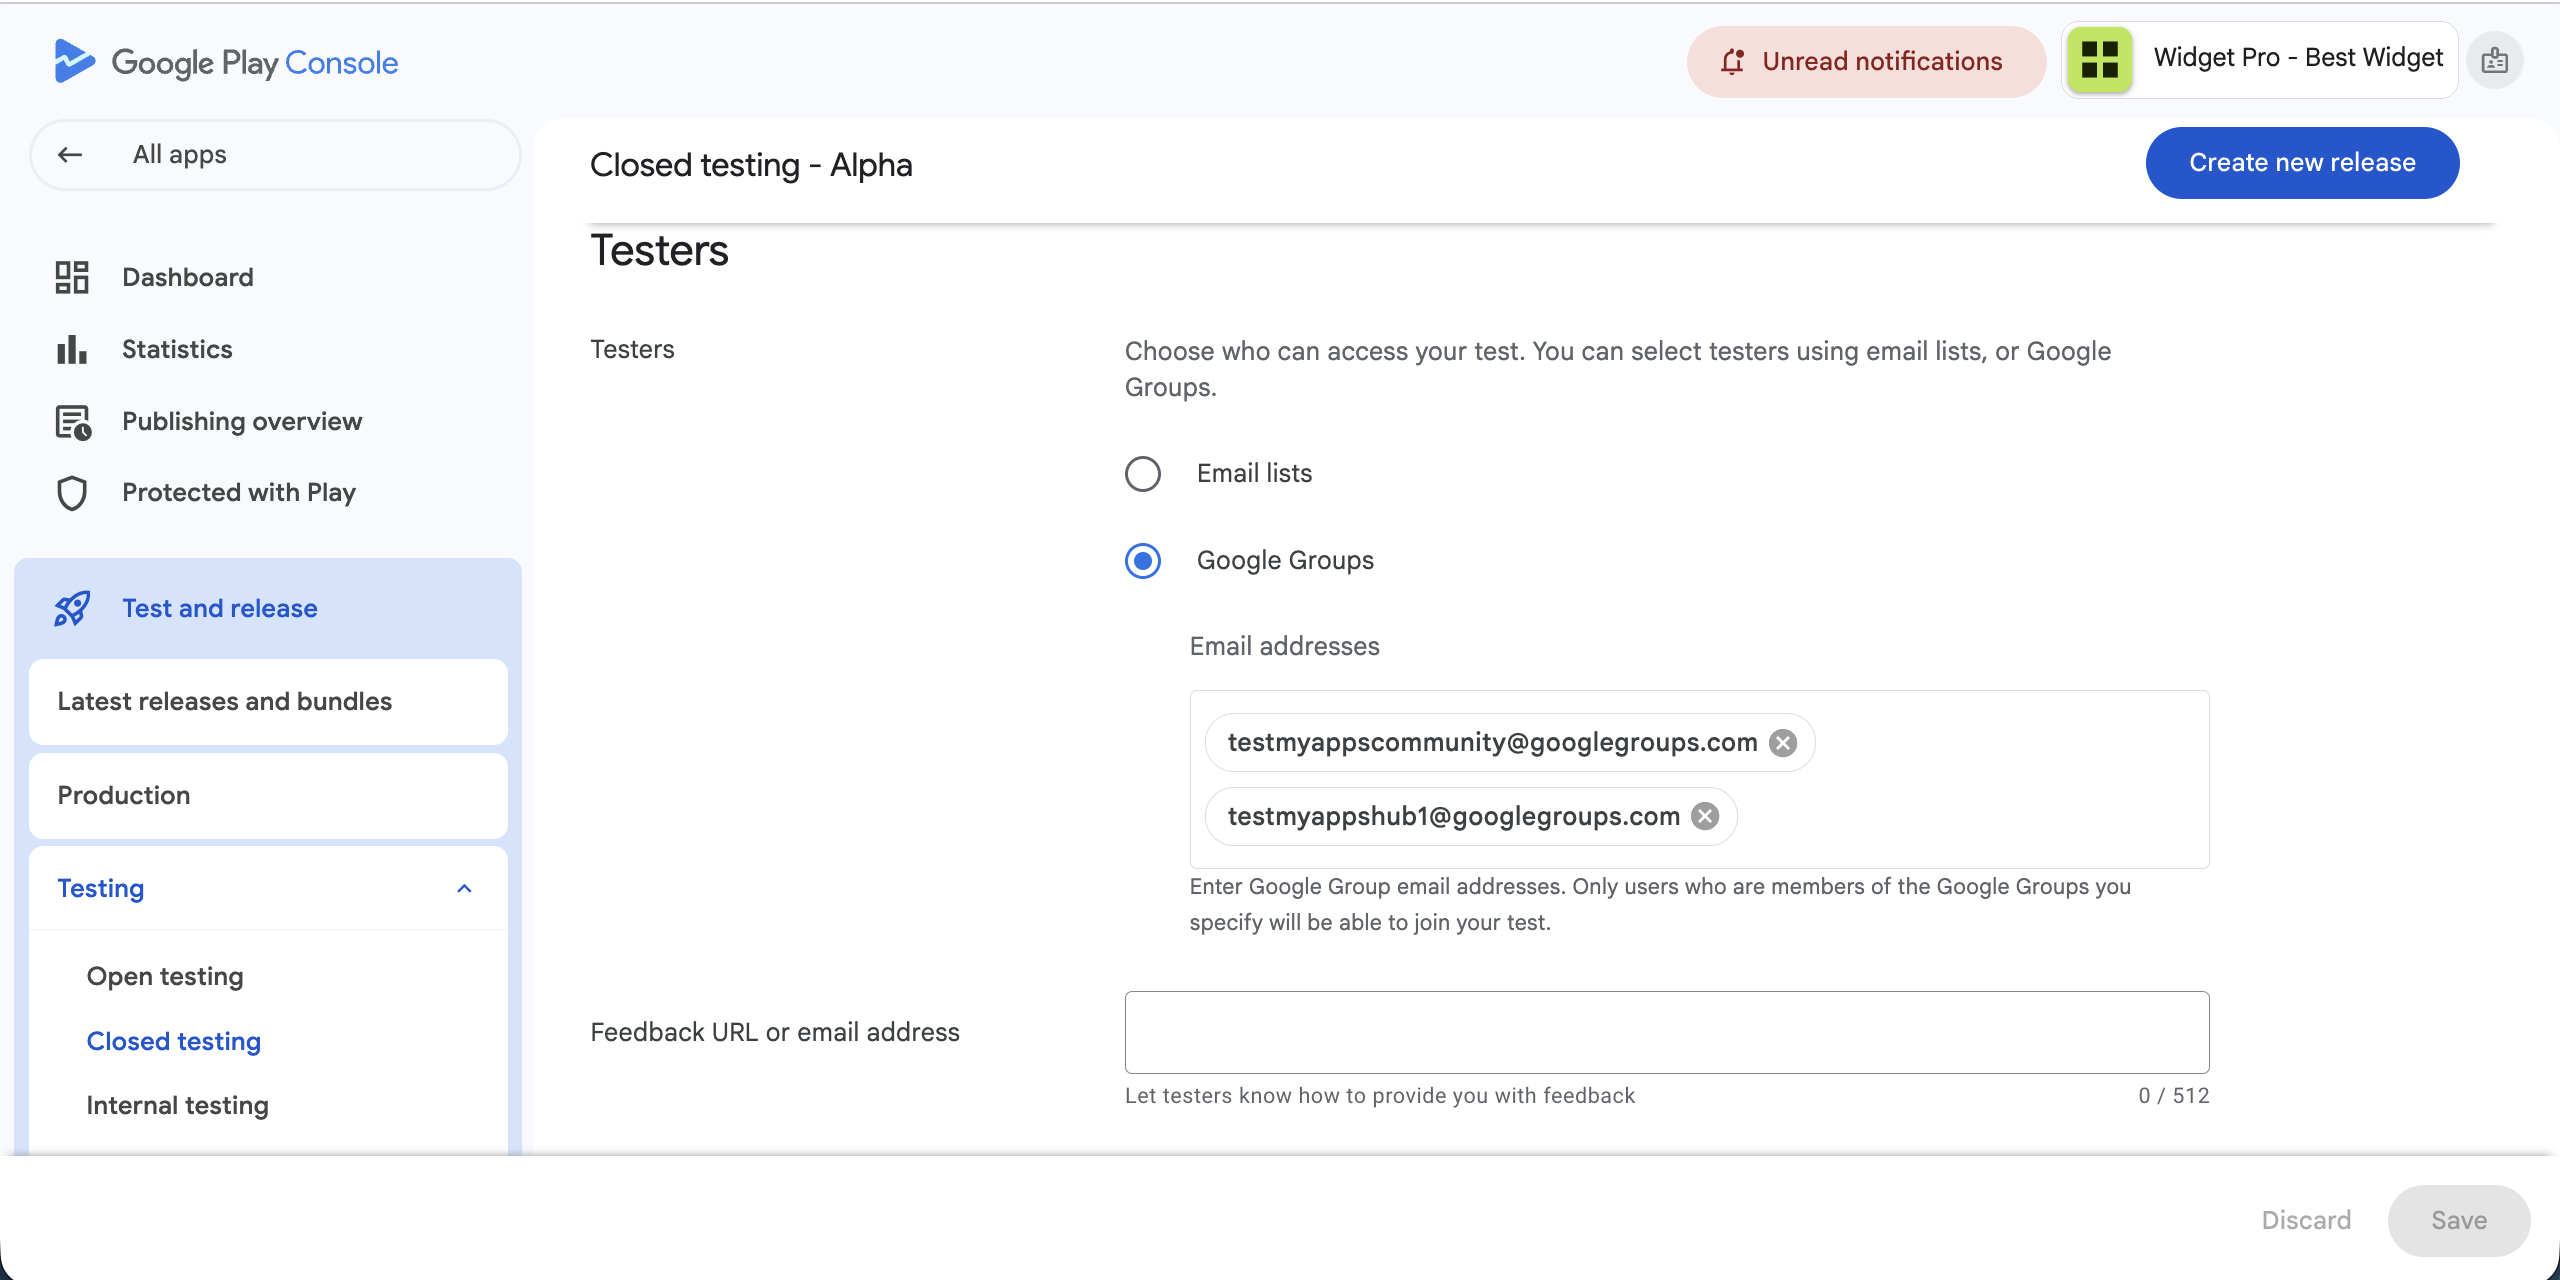
If someone opts out and you drop below 12, the continuous 14-day clock can break. Check Play Console for the current opted-in count before you assume the window is still counting.
Invite a replacement through the same official opt-in path, confirm the correct Google account, and verify install. If the group fell below 12, plan conservatively from the date a qualifying group was restored.
What to do if you update the build mid-window
Shipping a fix during closed testing is normal and often necessary — testers find crashes, you patch, you roll out a new release. Updating the build does not automatically reset the fourteen-day window, but keep testers opted in and document what changed so your production-access answers stay clear.
When you push an update, notify testers with concise release notes: what was fixed, what to retest, and whether they need to update manually or will receive the update automatically. Ask at least three testers to verify the fix on different devices.
Avoid pushing daily unstable builds that frustrate testers into opting out. Batch fixes when possible and communicate clearly. Each opt-out risks dropping below twelve and extending your timeline.
Tester activity guidance for a stronger window
Google's published requirement focuses on continuous opt-in, not daily active usage. But a fourteen-day window where nobody uses the app produces no feedback, no bug fixes, and weak production-access answers. Assign scenarios, not vague instructions.
Give each tester three to five tasks: install and first launch, account creation or login, core feature usage, settings or profile change, and feedback submission. Track completion in your spreadsheet. Repeat key scenarios after you ship fixes.
Device diversity matters during the window. Ask testers to report their device model and Android version with every bug report. Crashes that only appear on specific OEM skins or Android versions are common and worth catching before production.
- Install, onboarding, and first-run experience.
- Login, signup, password reset, and account deletion when applicable.
- Core app action and one edge case (slow network, denied permission).
- Notification, payment, upload, or location flows when relevant.
- Retest after fixes with at least three testers on different devices.
Preparing for production access in the final days
Days eleven through fourteen should shift from discovery to closeout. Confirm twelve or more testers are still opted in. Summarize feedback received, bugs found, and fixes shipped. Retest critical flows on the latest build. Review store listing, privacy policy, data safety answers, and content rating for accuracy.
Draft your production-access answers before you click submit. Google may ask what you tested, what issues arose, and what you changed. Specific examples beat generic statements. 'Testers reported a signup crash on Pixel 7 Android 14; fixed in version 1.0.3' is stronger than 'we tested thoroughly.'
Walk through the complete closed testing playbook production-access section and run the closed testing checklist tool one final time. If anything is unclear about timing, wait an extra day rather than submitting with a questionable window.
Timeline mistakes that add weeks to your launch
Starting the count at upload instead of at availability and twelve opt-ins is mistake number one. Mistake number two is recruiting exactly twelve testers with no buffer — one dropout on day ten forces recruitment and extension. Mistake number three is running internal testing instead of closed testing and discovering none of it counted.
Mistake number four is ignoring country targeting: if your closed test is limited to certain countries and a tester lives elsewhere, they cannot install. Mistake number five is applying on day fourteen morning when the continuous window may not be fully complete — wait until you are certain.
Build your overall launch schedule with three separate waits: setup and release review before the window, the fourteen continuous days themselves, and production-access review after you apply (usually seven days or less). The testing timeline estimator calculates a conservative earliest date. Read what is closed testing and internal vs closed testing if you are still setting up.
FAQ
Questions about this topic
When does the 14-day closed testing clock start?
The safest approach is to start counting when your closed testing release is approved and available in Play Console and at least twelve testers have completed opt-in through the official flow — not when you first upload the build or send invitations.
What if I update the build during the 14-day window?
Updating during closed testing is useful for fixing bugs, but keep testers opted in and document what changed. Notify testers about fixes, ask several to retest, and avoid frequent unstable releases that cause opt-outs.
Can I request production access on day 14?
You can apply once twelve testers have been continuously opted in for fourteen full days and your app meets policy requirements. If timing is uncertain, wait an extra day or two rather than submitting with an incomplete window.
What happens if a tester opts out during the 14 days?
If your opted-in count drops below twelve, the continuous requirement may no longer be met. Recruit replacements immediately, verify their opt-ins, and extend the timeline if needed before applying for production access.
Do the 14 days need to be consecutive calendar days?
Yes. Google describes the requirement as fourteen continuous days with testers opted in. Treat any gap below twelve opted-in testers as a risk to the timeline and address it before applying.
How long does production access review take after the 14 days?
Google says production-access review usually takes seven days or less, but it can occasionally take longer. Keep your closed test active and testers opted in during review in case Google requests continued testing or additional information.
Sources
Official references used
- App testing requirements for new personal developer accounts (Google Play Console Help)
- Set up an open, closed, or internal test (Google Play Console Help)
Continue
Choose the next step
Related
Next pages to read
Need 12 testers for 14 days?
Start a managed Google Play closed-testing run with verified testers, opt-in monitoring, and a closeout report.